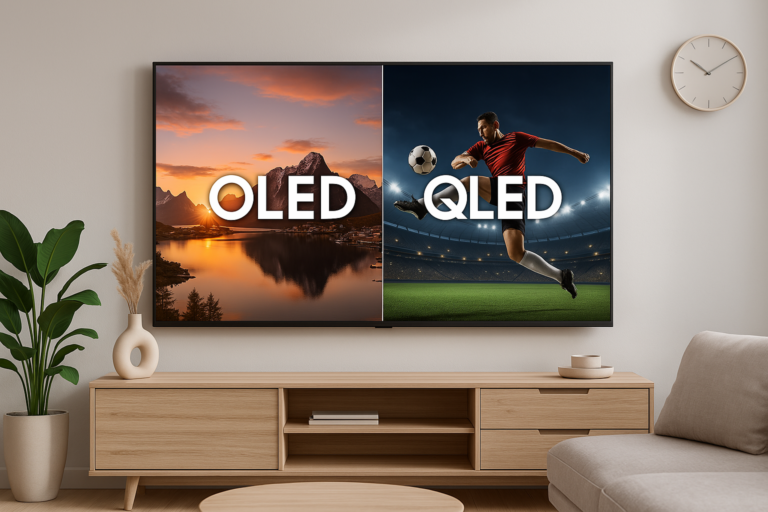
Even the most advanced OLED, QLED, or Mini-LED TV won’t reach its full potential straight out of the box. Factory presets are tuned for showroom floors, not for your living room. They often produce overly bright brightness settings, hyper-saturated images, and unnatural tones. While this may grab attention in a store, it falls short in delivering a cinematic, accurate picture at home.
That’s where TV calibration comes in. Learning how to calibrate a TV is the simplest way to transform your viewing experience. Proper color calibration improves accuracy, enhances detail in shadows, and reduces eye strain—whether you’re watching movies, streaming sports, or gaming.
In this guide, you’ll learn:
The science behind picture quality (color spaces, gamma, bit depth, and TV color calibration)
Step-by-step SDR and HDR calibration for the best TV picture settings
Brand-specific recommended tips on setting up Samsung TV, LG and Sony TV
Calibration for movies, gaming, and sports
Common mistakes to avoid during QLED / OLED calibration
The role of professional TV calibration services
Recommended tools for achieving the best color settings for TV
1. Why Calibrate Your TV?
Factory Settings Aren’t Accurate
Out of the box, most TVs are set to “Vivid” or “Dynamic” mode. As a result, brightness, contrast, and saturation are boosted to grab attention in a store — but it’s not true to life. Therefore, TV calibration is essential if you want the best TV picture settings at home.
Benefits of Calibration
Accurate Colors — Skin tones look natural, landscapes look realistic thanks to proper HDR calibration and fine-tuned color balance.
Better Contrast — See details in bright highlights and dark shadows.
Reduced Eye Strain — Proper brightness levels for your room’s lighting.
Optimized HDR — Unlocks the full potential of HDR10, HDR10+, and Dolby Vision.
Enhanced Gaming Performance — Lower input lag and smoother motion.
2. Understanding Picture Quality Basics
Before you start tweaking settings, it’s worth knowing what they mean.
Color Spaces:
Rec.709 — Standard for HD/SDR content.
DCI-P3 — Wider color gamut used in cinema and HDR.
BT.2020 — Even wider gamut for high-end HDR mastering.
Most TVs can’t fully display BT.2020 yet, but knowing your target space helps.
Gamma:
TV gamma setting controls how bright or dark mid-tones appear. For example, a 2.2 gamma is good for bright rooms, while 2.4 gamma is preferred for dark, cinema-like environments.
Bit Depth:
What is bit depth? If you’ve ever wondered what it is, it refers to how many levels of color and brightness a display can show.
8-bit — Standard HD content, limited gradients.
10-bit — Required for HDR to avoid banding and show smooth transitions.
3. Tools You Might Need
You can calibrate by eye, but using a calibration tool will give you far more accurate results. The right calibration tools can help you fine-tune brightness, contrast, color, and HDR settings with precision.
Free Options:
YouTube test patterns (search “4K TV calibration”)
AVS HD 709 patterns (SDR)
Paid / Professional Tools:
Spears & Munsil UHD HDR Benchmark — Comprehensive test disc for SDR/HDR.
X-Rite i1Display Pro — Professional colorimeter.
Calman Home — Calibration software for popular brands.
4. Step-by-Step TV Calibration
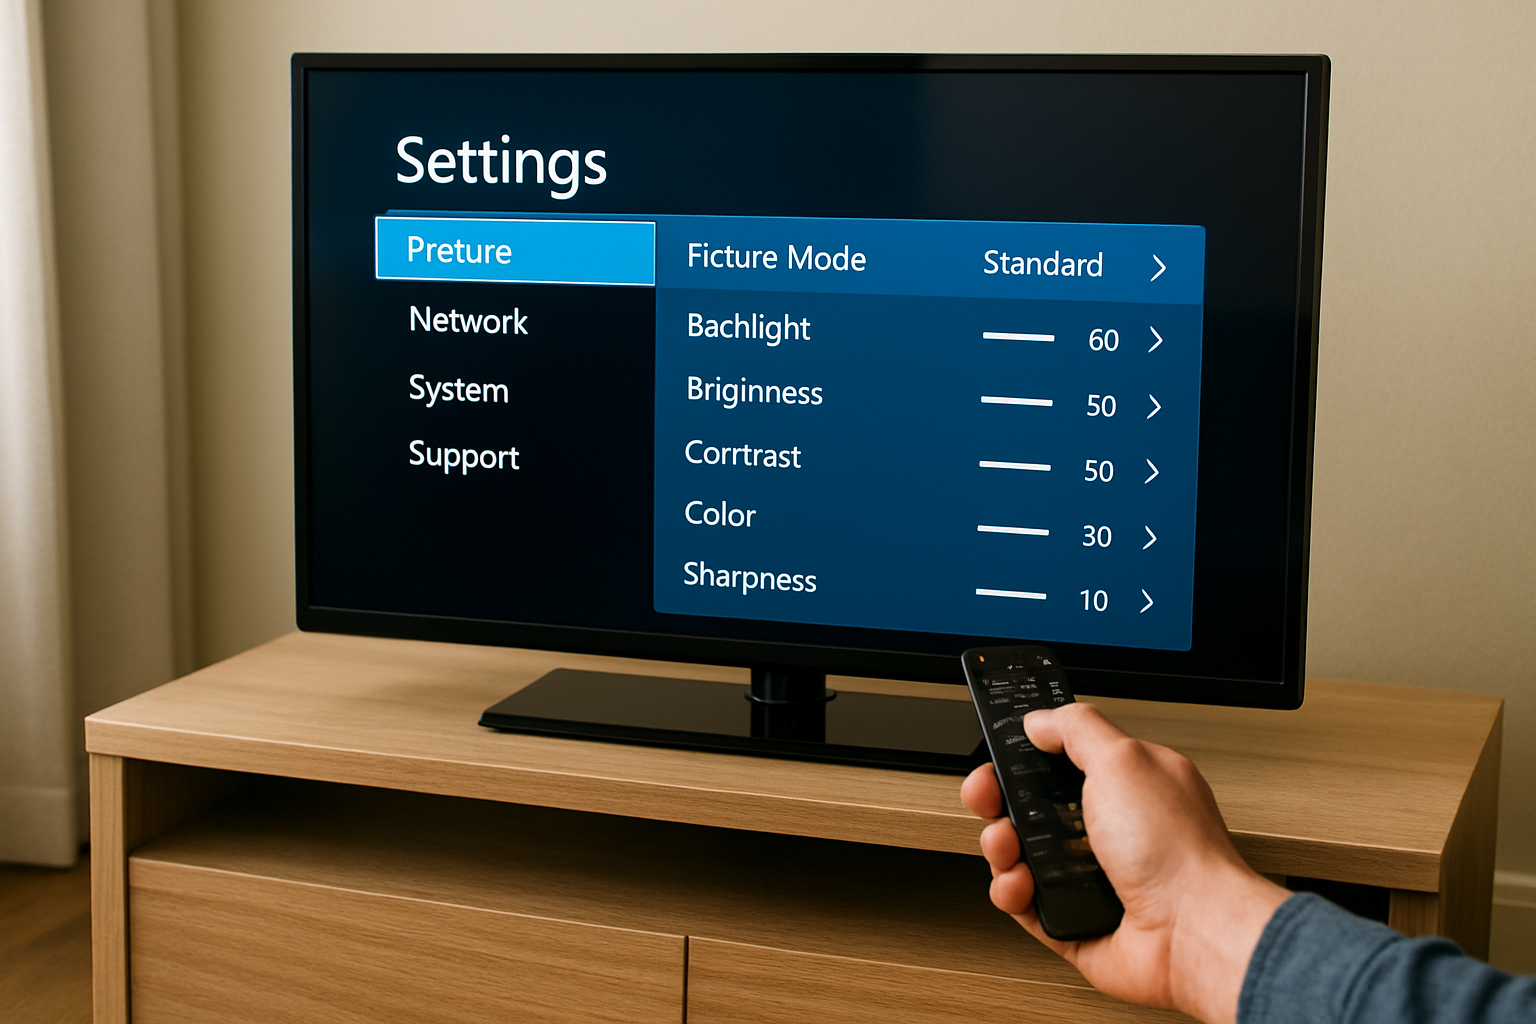
Step 1 — Choose the Right Picture Mode
The first step in TV calibration is selecting the right picture mode:
Movies: Cinema Mode or Filmmaker Mode.
Games: Game Mode (low latency enabled).
Sports: Standard Mode with motion settings like Auto Motion Plus.
Avoid Dynamic/Vivid modes — they distort accuracy.
Step 2 — Set Brightness and Contrast
The brightness setting controls black levels, while the contrast setting controls white levels.
How to adjust screen brightness and contrast:
Play a test pattern or dark scene.
Lower brightness settings until blacks merge, then raise slightly.
Play a bright scene.
Increase contrast until whites are bright but detailed.
Starting Points:
SDR: Brightness 50, Contrast 80
HDR: Brightness Max, Contrast Max (HDR calibration requires maximum brightness)
Step 3 — Adjust Color and White Balance
Set Color Temperature to Warm1 or Warm2.
Avoid overly saturated colors.
Advanced users: Fine-tune RGB gains for perfect neutrality.
Step 4 — Sharpness
Keep between 0–20%. Higher values create “halos” around edges.
Step 5 — Motion Settings
Brand names vary:
LG: TruMotion
Samsung: Auto Motion Plus
Sony: MotionFlow
Recommendations:
Movies: Off (avoid soap opera effect )
Sports: On (reduce motion blur)
Gaming: Off (reduce input lag)
Enable VRR and ALLM for gaming if supported.
Step 6 — HDR and Dolby Vision
HDR formats include: HDR10, HDR10+, Dolby Vision.
HDR10 — the base HDR standard.
HDR10 vs HDR10+ — HDR10+ adds scene-by-scene optimization.
HDR10 vs Dolby Vision — Dolby Vision delivers the best dynamic range and color accuracy.
Tips for HDR calibration:
Set brightness & contrast to max.
Use warm color temperature.
Turn off dynamic contrast for accuracy.
5. Calibration for Different Scenarios
Best TV Settings For Movies
Gamma: 2.4
Color Space: DCI-P3
Motion: Off
Brightness: Lower for dark rooms
Best TV Settings For Gaming
Game Mode On
VRR + ALLM enabled
HDR calibrated via console settings
Best TV Settings For Sports
Gamma: 2.2
Motion smoothing: Medium
Brightness: Higher for daytime viewing
6. Brand-Specific Recommended Settings
Samsung QLED (SDR)
Mode: Movie
Brightness: 50
Contrast: 80
Color: 25
Sharpness: 10
Temp: Warm2
LG OLED (SDR)
Mode: Filmmaker
Brightness: 50
Contrast: 85
Color: 50
Sharpness: 10
Temp: Warm1
Sony Bravia (SDR)
Mode: Cinema
Brightness: 50
Contrast: 90
Color: 50
Sharpness: 10
Temp: Warm2
7. Example: Calibrating an LG C3 OLED
If you’re looking for the best LG C3 settings for picture accuracy:
Select Filmmaker Mode.
Brightness: 50, Contrast: 85.
Color Temperature: Warm1.
Gamma: 2.4 for night viewing.
Disable TruMotion for movies, enable VRR for games.
Run HDR calibration on PS5.
8. Common Calibration Mistakes
Using Vivid/Dynamic mode.
Setting brightness too high.
Leaving sharpness at factory max.
Ignoring separate HDR/SDR settings.
Not adjusting for day/night viewing.
Forgetting to save custom profiles.
9. Professional Calibration
Pros:
Highest accuracy
Custom profiles for your environment
Maximized HDR performance
Cons:
Cost: $150–$400
May need redoing after firmware updates
10. Understanding Gamma Curves and Tone Mapping
Gamma Curves
A TV gamma setting determines how brightness is distributed from black to white on your screen. It directly affects mid-tone detail, shadow depth, and perceived contrast.
Gamma 2.2 — Best for brighter rooms, keeps mid-tones lighter. Gamma 2.4 — Best for dark home theaters, increases depth and cinematic feel.
Some TVs also offer BT.1886 gamma, designed to maintain contrast ratios close to reference monitors.
Tone Mapping
Tone mapping is how your TV adjusts very bright HDR content to fit its maximum brightness capability. Without it, you’d lose details in highlights.
Static tone mapping — Same adjustment across all scenes (HDR10).
Dynamic tone mapping — Adjusts per scene or frame (Dolby Vision, HDR10+).
Pro Tip: If your TV supports it, enable Dynamic Tone Mapping for HDR movies but turn it off for gaming to avoid input lag.
11. Calibration for Streaming Services

Streaming platforms often process video differently than Blu-ray discs or live TV, so your calibrated settings may need slight adjustments.
Netflix
Automatically applies Dolby Vision or HDR10 where available.
May override your picture mode — check settings after playback starts.
Disney+
Heavy use of HDR and Dolby Vision for Marvel/Star Wars content.
Slightly darker mastering — you may need to bump brightness +2 for comfortable viewing.
Prime Video
When adjusting Amazon Prime Video settings, keep in mind HDR10 and HDR10+ are widely used. Some titles are mastered brighter than others, so enabling dynamic tone mapping can help balance.
Apple TV+
Known for Dolby Vision with high bitrate, Apple TV+ usually delivers the most consistent HDR quality. For the best settings for Apple TV 4K, stick with Warm color temperature, max brightness for HDR, and disable excessive motion smoothing.
Pro Tip: Create a dedicated Streaming Profile on your TV if your model supports it, to fine-tune for platform-specific quirks.
12. Before and After Calibration: Real Example
We calibrated a Samsung QN90C QLED in a bright living room.
Before Calibration:
Vivid Mode
Brightness: 100, Contrast: 100
Oversaturated greens and reds
Shadow detail missing in dark scenes
After Calibration:
Movie Mode, Warm2 Color Temperature
Brightness: 50, Contrast: 80
Accurate skin tones, greens look natural
Shadow detail restored without losing contrast
Result: After calibration of Samsung TV settings viewers noticed improved realism, less eye strain, and a more “cinematic” feel during movie nights.
13. Color Gamut and Bit Depth Explained
Color Gamut
This defines the range of colors your TV can display:
Rec 709 — SDR content (HDTV broadcasts, older Blu-rays)
DCI-P3 — HDR and cinema standard, ~25% wider than Rec.709
BT.2020 — Theoretical HDR standard, rarely fully covered today
Bit Depth
Determines how many shades each color can have:
8-bit — 256 shades per color channel (~16.7 million colors)
10-bit — 1024 shades per channel (~1 billion colors) — reduces banding in gradients
Pro Tip: In HDR mode, make sure your HDMI settings are set to “Enhanced” or “HDMI Ultra HD Deep Color” to enable 10-bit mode.
14. Panel-Type Specific Calibration Tips
OLED Calibration:
Pros: Perfect blacks, infinite contrast
Calibration tip: Lower peak brightness for SDR to extend panel life and reduce burn-in risk.
QLED Calibration:
Pros: Very bright, great for sunny rooms
Calibration tip: Reduce contrast enhancer for more natural highlights.
LCD / LED Screen Calibration:
Pros: Affordable, bright
Calibration tip: Local dimming helps improve black levels, but test different settings to avoid haloing.
Mini-LED Calibration:
Pros: High peak brightness, better local dimming precision
Calibration tip: Keep local dimming on high for HDR, medium for SDR to maintain balance.
15. Advanced Calibration with Colorimeters
If you want the most accurate picture possible, a colorimeter combined with professional software is the gold standard.
Recommended Tools
X-Rite i1Display Pro — Highly accurate sensor for SDR and HDR calibration.
Calman Home — Works with major TV brands like LG, Samsung, and Sony.
Step-by-Step Process:
Install Software — Set up Calman Home on your laptop.
Connect Colorimeter — Place the sensor flat against the center of your TV screen.
Select Target Settings — Choose the correct color space (Rec.709 for SDR, DCI-P3 for HDR).
Run Test Patterns — Calman will automatically cycle through grayscale and color patterns.
Adjust TV Settings — Follow prompts to adjust brightness, contrast, color temperature, and gamma.
Verify Results — The software will show DeltaE values — aim for below 3 for accurate color reproduction.
Pro Tip: Keep your colorimeter covered when not in use to protect the sensor from dust and light damage.
16. Calibrating for Different Room Types
Small Dark Room (Home Theater)
Gamma: 2.4 or BT.1886 for deeper blacks.
Lower peak brightness for SDR to prevent eye strain.
Use Warm2 color temperature for a cinematic feel.
Standard Living Room
Gamma: 2.2 for balanced brightness.
Moderate brightness to handle daytime and evening viewing.
Enable local dimming for deeper contrast.
Bright, Sunlit Room
Gamma: 2.1 for extra shadow detail in bright light.
Increase brightness and contrast to combat glare.
Slightly cooler color temp to offset daylight warmth.
Pro Tip: Consider blackout curtains or bias lighting behind the TV to improve perceived contrast in bright environments.
17. Quick Tips for Everyday TV Optimization
While a full calibration can take an hour or more, these small adjustments can keep your TV looking great between sessions:
Check brightness weekly — Lighting conditions in your room change with the seasons.
Cleaning a TV screen — Dust and fingerprints can lower perceived contrast.
Update firmware — Manufacturers sometimes improve color accuracy or HDR handling in updates.
Avoid extreme settings — Overly high brightness or contrast can shorten panel life.
Use bias lighting — A soft LED light behind your TV can reduce eye strain and improve perceived contrast.
Remember: Even the best calibration can drift over time — regular check-ups ensure your TV always looks its best.
18. Conclusion
Calibrating your TV can completely change how you experience movies, games, and sports. It takes less than an hour, costs nothing if you do it yourself, and delivers massive visual benefits.
For best results, combine this guide with a calibration disc and, if possible, a colorimeter. Your eyes — and your entertainment — will thank you.